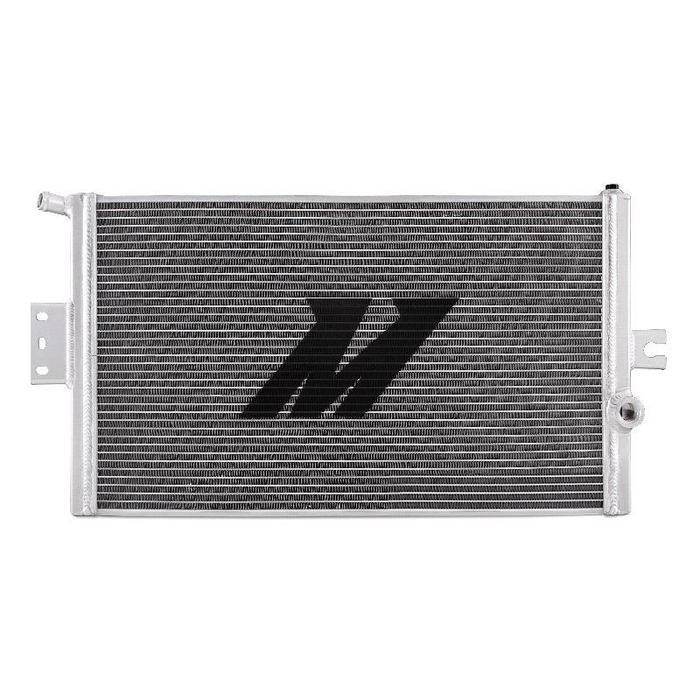
Installation Instructions
Installation Instructions: Mishimoto Performance Heat Exchanger fits 2016+ Infiniti Q50/Q60 3.0T
Mishimoto Performance Heat Exchanger fits 2016+ Infiniti Q50/Q60 3.0T
Please note that the following instructions are a general guideline for installing the Mishimoto Performance Heat Exchanger on a 2016+ Infiniti Q50/Q60 3.0T.
Here is a step-by-step guide for the installation:
- Ensure the vehicle is parked on a level surface and the engine is cool before starting the installation.
- Open the hood of the vehicle and locate the stock heat exchanger. It is typically located near the front of the engine bay.
- Start by disconnecting the negative terminal of the vehicle’s battery to prevent any electrical mishaps during the installation process.
- Drain the coolant from the stock heat exchanger. Locate the drain plug or valve on the bottom of the heat exchanger and carefully loosen it to allow the coolant to drain into a suitable container.
- Once the coolant has been drained, remove the hoses and connectors attached to the stock heat exchanger. Take note of their positions for reinstallation.
- Remove any mounting brackets or bolts securing the stock heat exchanger in place. Carefully disconnect it from the vehicle’s radiator or other connections.
- Prepare the Mishimoto Performance Heat Exchanger for installation. Ensure all mounting brackets and hardware are included and ready for use.
- Position the Mishimoto Performance Heat Exchanger in place of the stock heat exchanger. Align the mounting brackets with the corresponding mounting points on the vehicle.
- Attach the Mishimoto Performance Heat Exchanger to the vehicle using the provided mounting brackets and hardware. Make sure it is securely fastened. Also avoid overtightening to prevent damage.
- Reconnect the hoses and connectors to the Mishimoto Performance Heat Exchanger, following the notes taken during the removal of the stock heat exchanger. Ensure they are properly aligned an securely attached.
- Refill the cooling system with the appropriate coolant. Consult the vehicle’s owner manual for the recommended coolant type and fill the system accordingly.
- Double-check all connections, ensuring there are no leaks or loose fittings.
- Reconnect the negative terminal of the vehicle’s battery.
- Start the engine and let it idle while monitoring the temperature gauge. Check for any signs of leaks or abnormal coolant levels.
- Once confirmed that everything is functioning correctly, close the hood and take the vehicle for a test drive to ensure proper performance.
Remember, these steps are a general overview, and it is essential to refer to the specific installation instructions provided by Mishimoto for your heat exchanger model to ensure a successful and accurate installation.


