


Nissan
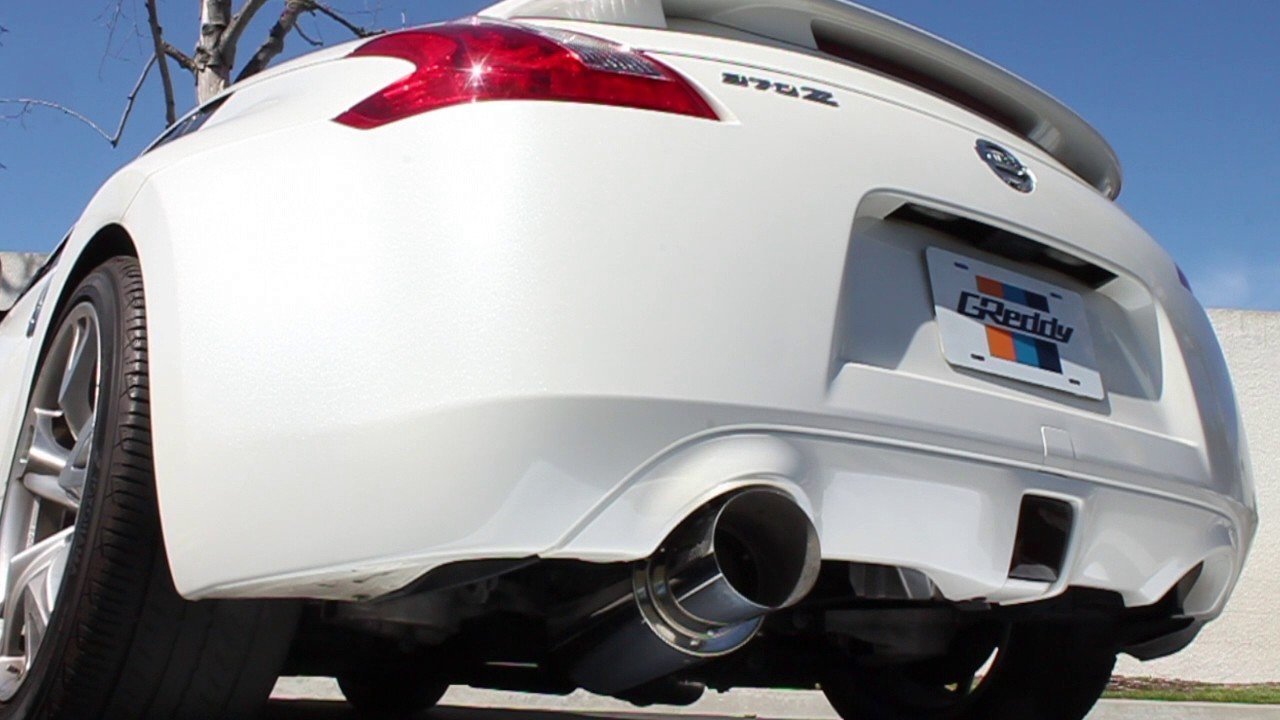
Installation Instructions: Greddy Revolution RS-Race Exhaust (Single Exit NON-RES): Nissan 370Z 09+
Jul
Greddy Revolution RS-Race Exhaust (Single Exit NON-RES): Nissan 370Z 09+
As an AI language model, I can provide general guidelines for installing the Greddy Revolution RS-Race Exhaust on a Nissan 370Z model year 2009 and newer. However, please note that specific installation steps may vary, and it’s essential to refer to the manufacturer’s installation instructions that come with the exhaust system. If you’re not experienced with automotive modifications, it’s recommended to seek professional help to ensure a proper and safe installation.
Here are the general steps for installing the Greddy Revolution RS-Race Exhaust on a Nissan 370Z:
Tools and Equipment:
- Car jack and jack stands
- Socket set and wrenches
- Screwdrivers
- Lubricant spray (for removing rusted bolts)
- Penetrating oil (to loosen stubborn bolts)
- Rubber mallet (optional, for aligning exhaust components)
Installation Steps:
- Safety Precautions:
- Park your vehicle on a level surface and engage the parking brake.
- Allow the engine and exhaust system to cool down before starting the installation.
- Wear appropriate safety gear, such as gloves and eye protection.
Raise the Vehicle:
- Use a car jack to lift the rear of the vehicle.
- Place jack stands under the vehicle’s frame to support it securely.
- Removing the Stock Exhaust:
- Use a socket set and wrenches to remove the bolts and clamps securing the exhaust components.
- Apply penetrating oil if any bolts are rusted or difficult to remove.
- Carefully lower the stock exhaust components from the vehicle and set them aside.
- Installing the Greddy Revolution RS-Race Exhaust:
- Follow the manufacturer’s instructions to assemble the Greddy Revolution RS-Race Exhaust components.
- Position the new exhaust system under the vehicle, aligning it with the mounting points.
- Use the provided hardware to secure the exhaust components in place.
- Make sure all bolts and clamps are tightened securely, but avoid over-tightening to prevent damage.
Adjustment and Alignment:
- Check the alignment of the exhaust components to ensure proper fitment and clearance.
- If necessary, use a rubber mallet to gently adjust the position of the exhaust system for optimal alignment.
- Double-check all connections to ensure there are no leaks or loose fittings.
- Lower the Vehicle:
- Once the exhaust system is securely installed and aligned, carefully lower the vehicle from the jack stands.
- Test the Exhaust:
- Start the engine and listen for any unusual noises or leaks from the new exhaust system.
- Check for any exhaust leaks by feeling for air around the connections and listening for hissing sounds.
- Take the vehicle for a test drive to evaluate the sound and performance of the Greddy Revolution RS-Race Exhaust.
Remember to consult the specific instructions provided by Greddy for this particular exhaust system. If you encounter any difficulties or uncertainties during the installation process, it’s best to seek assistance from a professional mechanic or an automotive shop experienced with exhaust system installations.