G Platform, Infiniti, Installation Instructions, Nissan, Z Platform
Installation Instruction: SPL 350Z/G35 Rear Camber Links – Billet Version
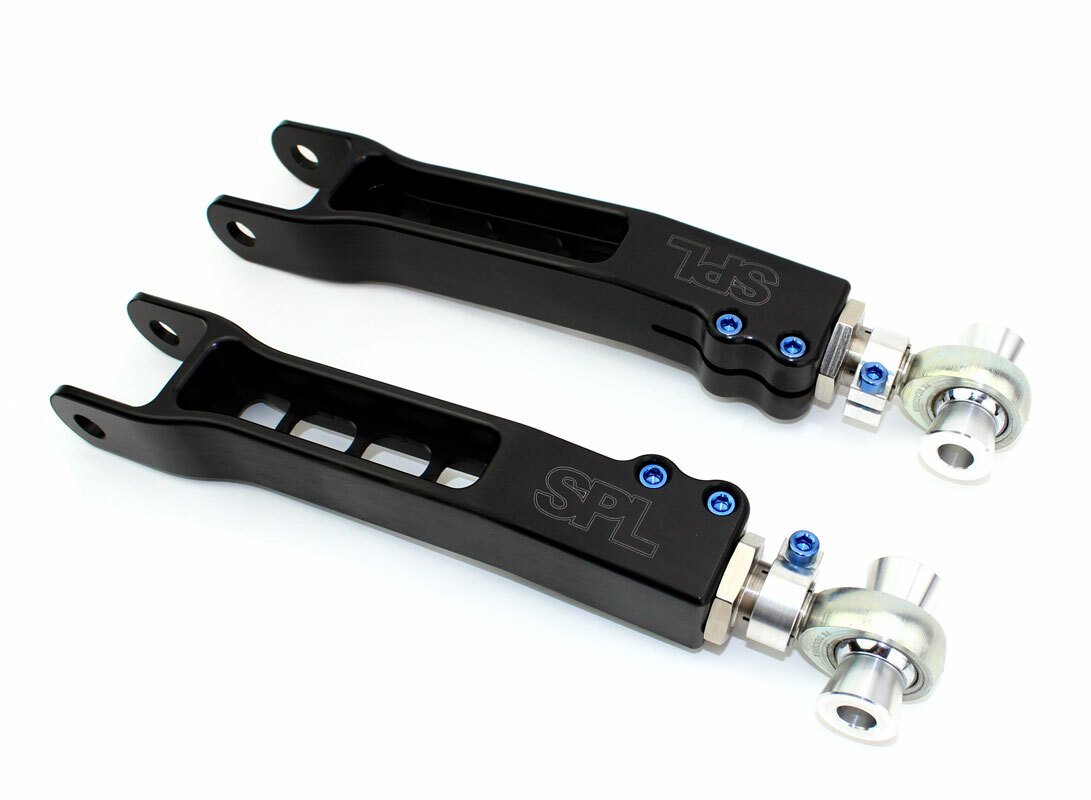
SPL 350Z/G35 Rear Camber Links – Billet Version
Installing the SPL 350Z/G35 Rear Camber Links – Billet Version requires intermediate to advanced automotive knowledge and tools. Please note that the following steps provide a general overview of the installation process, and it is crucial to follow the specific instructions provided by SPL for accurate and safe installation. If you are not experienced with automotive installations, it is recommended to seek the assistance of a professional mechanic or automotive specialist.
Tools Needed:
- Car jack and jack stands or ramps
- Socket set
- Wrench set
- Torque wrench
- Pry bar
- Penetrating oil (to loosen rusted bolts)
Installation Steps:
- Safety Precautions:. Park your vehicle on a flat and level surface, engage the parking brake, and ensure the engine is cool before beginning the installation. Use safety goggles and gloves throughout the installation process.
Raise the Vehicle:. Use a car jack and jack stands or ramps to lift the rear of the vehicle off the ground, providing enough space to work underneath.
- Remove the Factory Camber Links:. Use a socket set and wrench to unbolt and remove the factory camber links from the vehicle’s suspension. You may need to use penetrating oil to loosen any rusted or stubborn bolts.
- Install the SPL Billet Camber Links: Carefully position the SPL Billet Camber Links in place, aligning them with the mounting points on the vehicle’s suspension. Use the provided hardware to secure the camber links in place.
- Tighten Bolts:. Gradually tighten the bolts and nuts, working in a crisscross pattern to ensure even pressure. Use a torque wrench to tighten the bolts to the manufacturer’s recommended torque specifications.
Adjust Camber Settings:. The SPL Billet Camber Links are designed to allow for camber adjustment. Use the provided adjustment points to set the desired camber angle for your vehicle. Refer to SPL’s instructions for proper camber alignment.
- Check Clearance and Alignment:. Ensure that the camber links have enough clearance from other suspension components and the vehicle’s chassis. Also, check that the camber settings are precisely aligned for proper fitment.
- Recheck Everything:. Once the camber links are securely in place and the camber settings are adjusted, double-check all connections, bolts, and alignment to ensure everything is correctly installed.
- Lower the Vehicle:. Carefully lower the vehicle back to the ground using the car jack and jack stands or ramps.
- Test and Fine-Tune:. Take the vehicle for a test drive to ensure the camber settings feel comfortable and suitable for your driving preferences. If needed, fine-tune the camber settings to achieve the desired performance and handling characteristics.
Always refer to the manufacturer’s specific instructions and guidelines provided with the SPL 350Z/G35 Rear Camber Links – Billet Version for the safest and most effective installation process.


